Exploiting Latent Vectors in Stable Diffusion - Interpolation and parameters tuning
Let's do some experimentation with latent vectors in stable diffusion, there is a lot to do in this area so I think this can be a multi part series of articles.
The big change that Stable diffusion introduced or as the original paper puts it Latent diffusion is doing the diffusion over the latents of a VAE and not over the pixels of the image, this makes it very fast, but also allows the manipulation of these vectors to get very interesting results.
I'm using the diffusers Hugging face library to do all of this, so if you want a complete guide on how to use stable diffusion I recommend you start at their docs or some of their excellent notebooks I recommend this one HG diffusers
Dreambooth fine-tuning
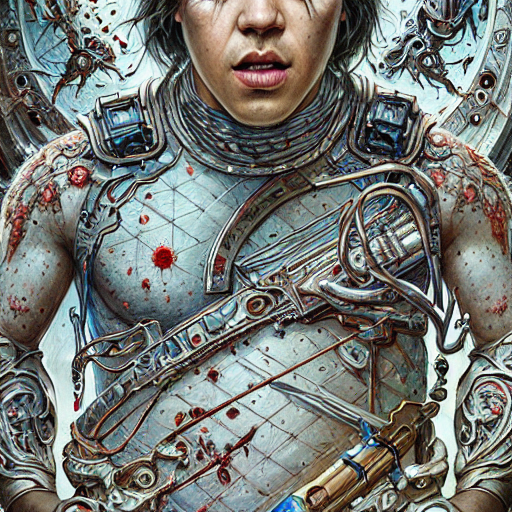
I thought it would be more interesting to finetune the diffusion with me and do testings with that rather than a random prompt
If you want to do the same I leave you this video where I show you how to do Dream Booth fine-tuning, plus how inpatining can be used to put your face into any image.
I essentially did the same as the video with more images and more iterations in the training.
Also I changed the gray background for a transparent png, if im not wrong this becomes black when you load the images since transparency gets mapped to 0.
I removed the background of each image with the rembg library, you can also use photoshop or other editing tool.
Using latent embeddings with Hugging face Diffusers
To generate latents we are going to use this function, that essentially generates a tensor of shape (1, pipe.unet.in_channels, height // 8, width // 8) with gaussian noise.
This is the starting latent vector that the Denoising U-Net will iteratively predict the noise to remove and get the final result.
def get_random_latent():
    generator = torch.Generator(device="cuda")
    seed = generator.seed()
    seeds.append(seed)
    generator = generator.manual_seed(seed)

    image_latents = torch.randn(
        (1, pipe.unet.in_channels, height // 8, width // 8),
        generator = generator,
        device = "cuda"
    )
    return image_latents
Then in the pipe function we set this random vector in latents, remember to keep it into a separated variable so you don't generate a new one each time.
latents = get_random_latent()
result = pipe(
	[prompt],
    num_inference_steps=50,
    guidance_scale=7.5,
    latents = latents_save['face_to_the_left']
).images
Guidance walk, computer do what I want!
Let's start with how we make the diffusion to listen to us, basically what is called guidance, since there is a version of diffusion that is unconditional meaning whatever random vector you give is what you get we need some how tell the computer to do as we wish so we add a component into the noise.
The formula for the guidance is noise_pred = noise_pred_uncond + guidance_scale * (noise_pred_text - noise_pred_uncond) , we are adding a component in predicted loss that comes from the prompt that we add, and we weight that to the unconditional predicted noise.
I purposely leave this a little vague because I don't want this to be a math class and I don't fully understand it yet xD
So to summarise low guidance is computer do whatever you want and high guidance is computer do what I want! Lets test if this is true!
Iterating from 0 to 24 in single steps, and with fixed 50 iterations:
Results are quite interesting, it seems that it becomes more extreme, and follows the prompt more closely, but notice that we add more noise to the image, this makes sense since in the formula we are increasing the weight of one of the predicted noises, and this can throw the balance of the two.
That's quite amazing isn't it, I wonder what happens if you give high guidance and more of iterations lets see it in the next section, I have the suspicion that with more iterations the results of high guidance will improve.
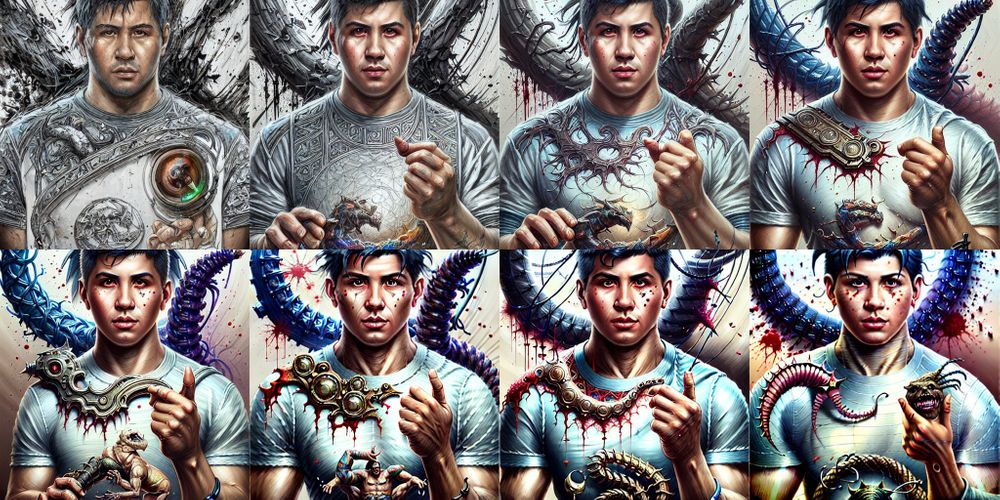
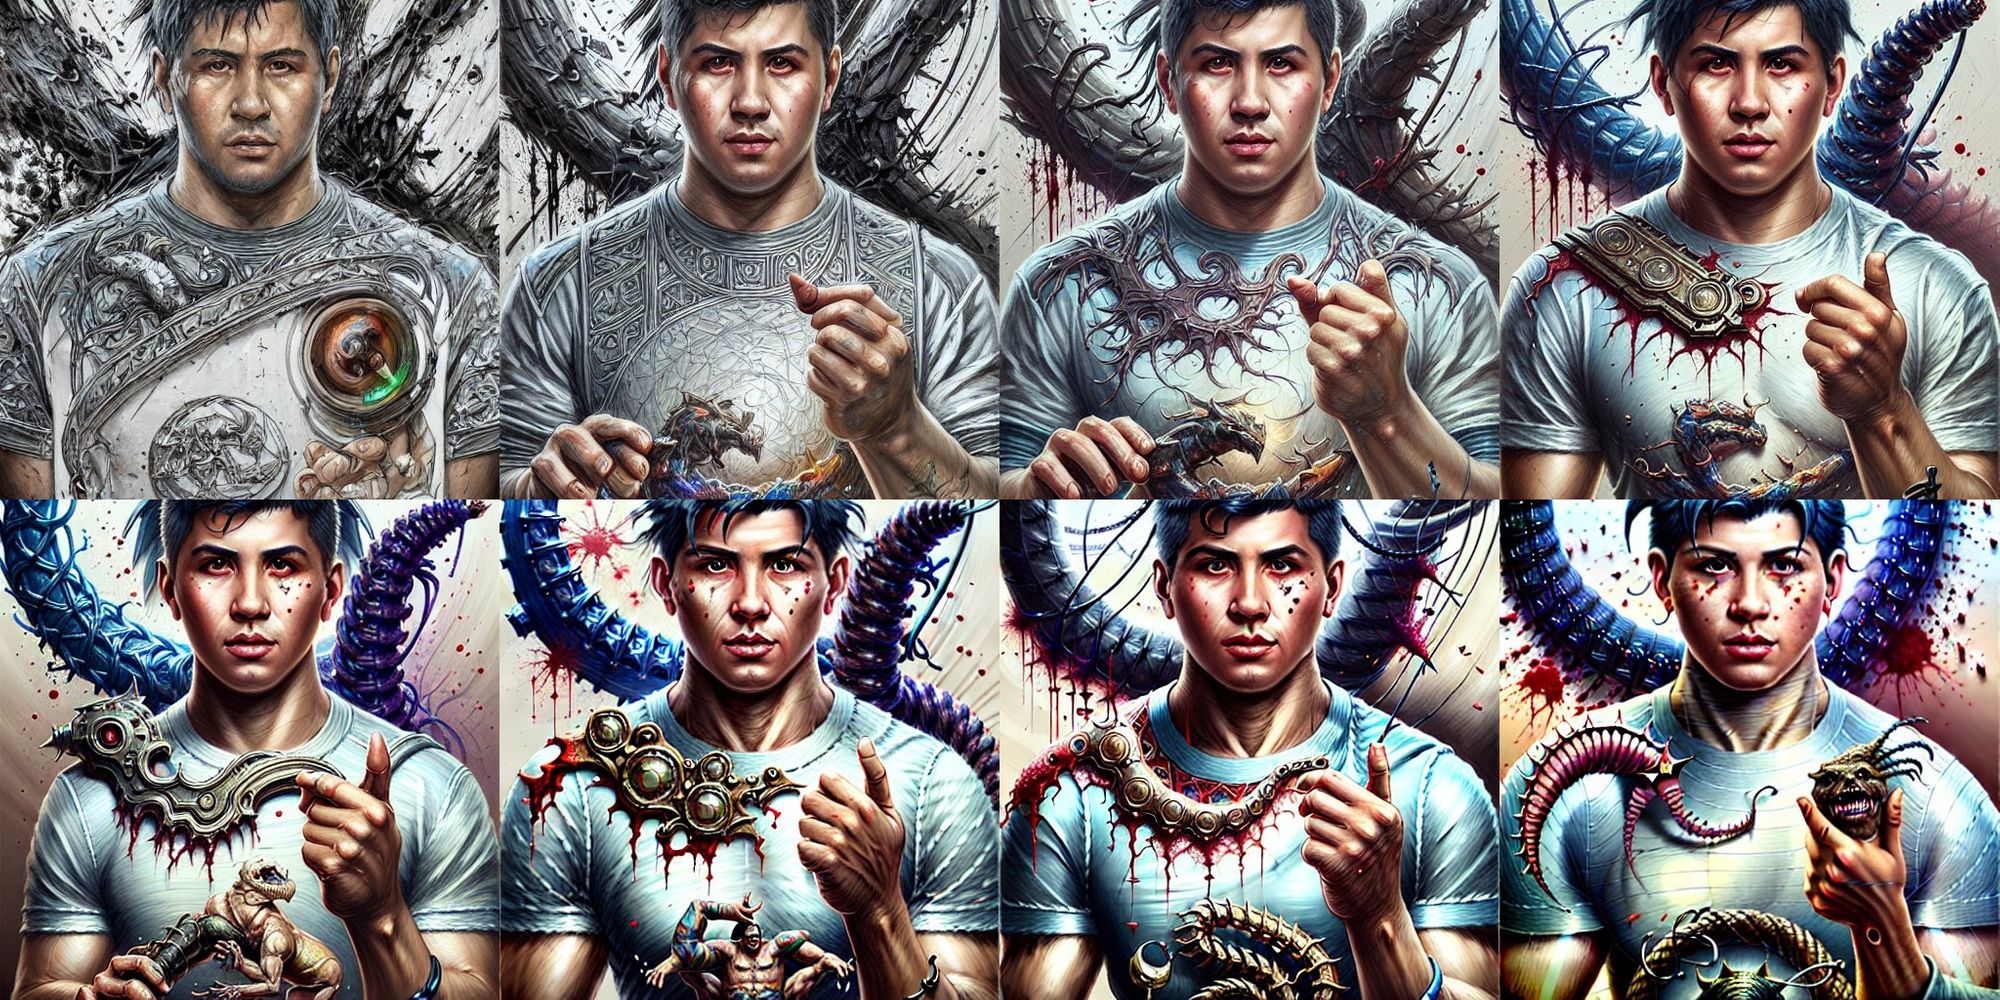
The two forces: guidance scale vs num inference steps
Alright let's generate 50 images, using guidance scale from 1 to 20 and only the pairs, and steps from 100 to 500 in steps of 100
The ranges are chosen for time and with some prior test that I did, if I have more time will do more, but I think with these we'll have enough to get some conclusions.
The code for this part is:
for i in tqdm(range(1, 21, 2)):
    for j in range(1,6):
        with autocast("cuda"):
            images = pipe([prompt], num_inference_steps=j*100, guidance_scale=i,  latents =latents_save['face_to_the_left'] ).images
        grid = image_grid(images, 1, 1)
        grid.save(f'variable_gc_iter_test/results_gs_{i}_it{j*100}.png')
Columns are iteration, and rows are guidance scale
Alright! I think my theory was right, more iterations and a corresponding amount guidance doesn't make a noisy mess and you actually get something really good and somewhat extreme.
This is a very interesting experiment, the iterations where the main driver of change in the resulting images, being 400 one of the more interesting ones, and the guidance made the features of the image more extreme but maintained the overall structure, starting from guidance 3. Seems like below that the networks does whatever it wants.
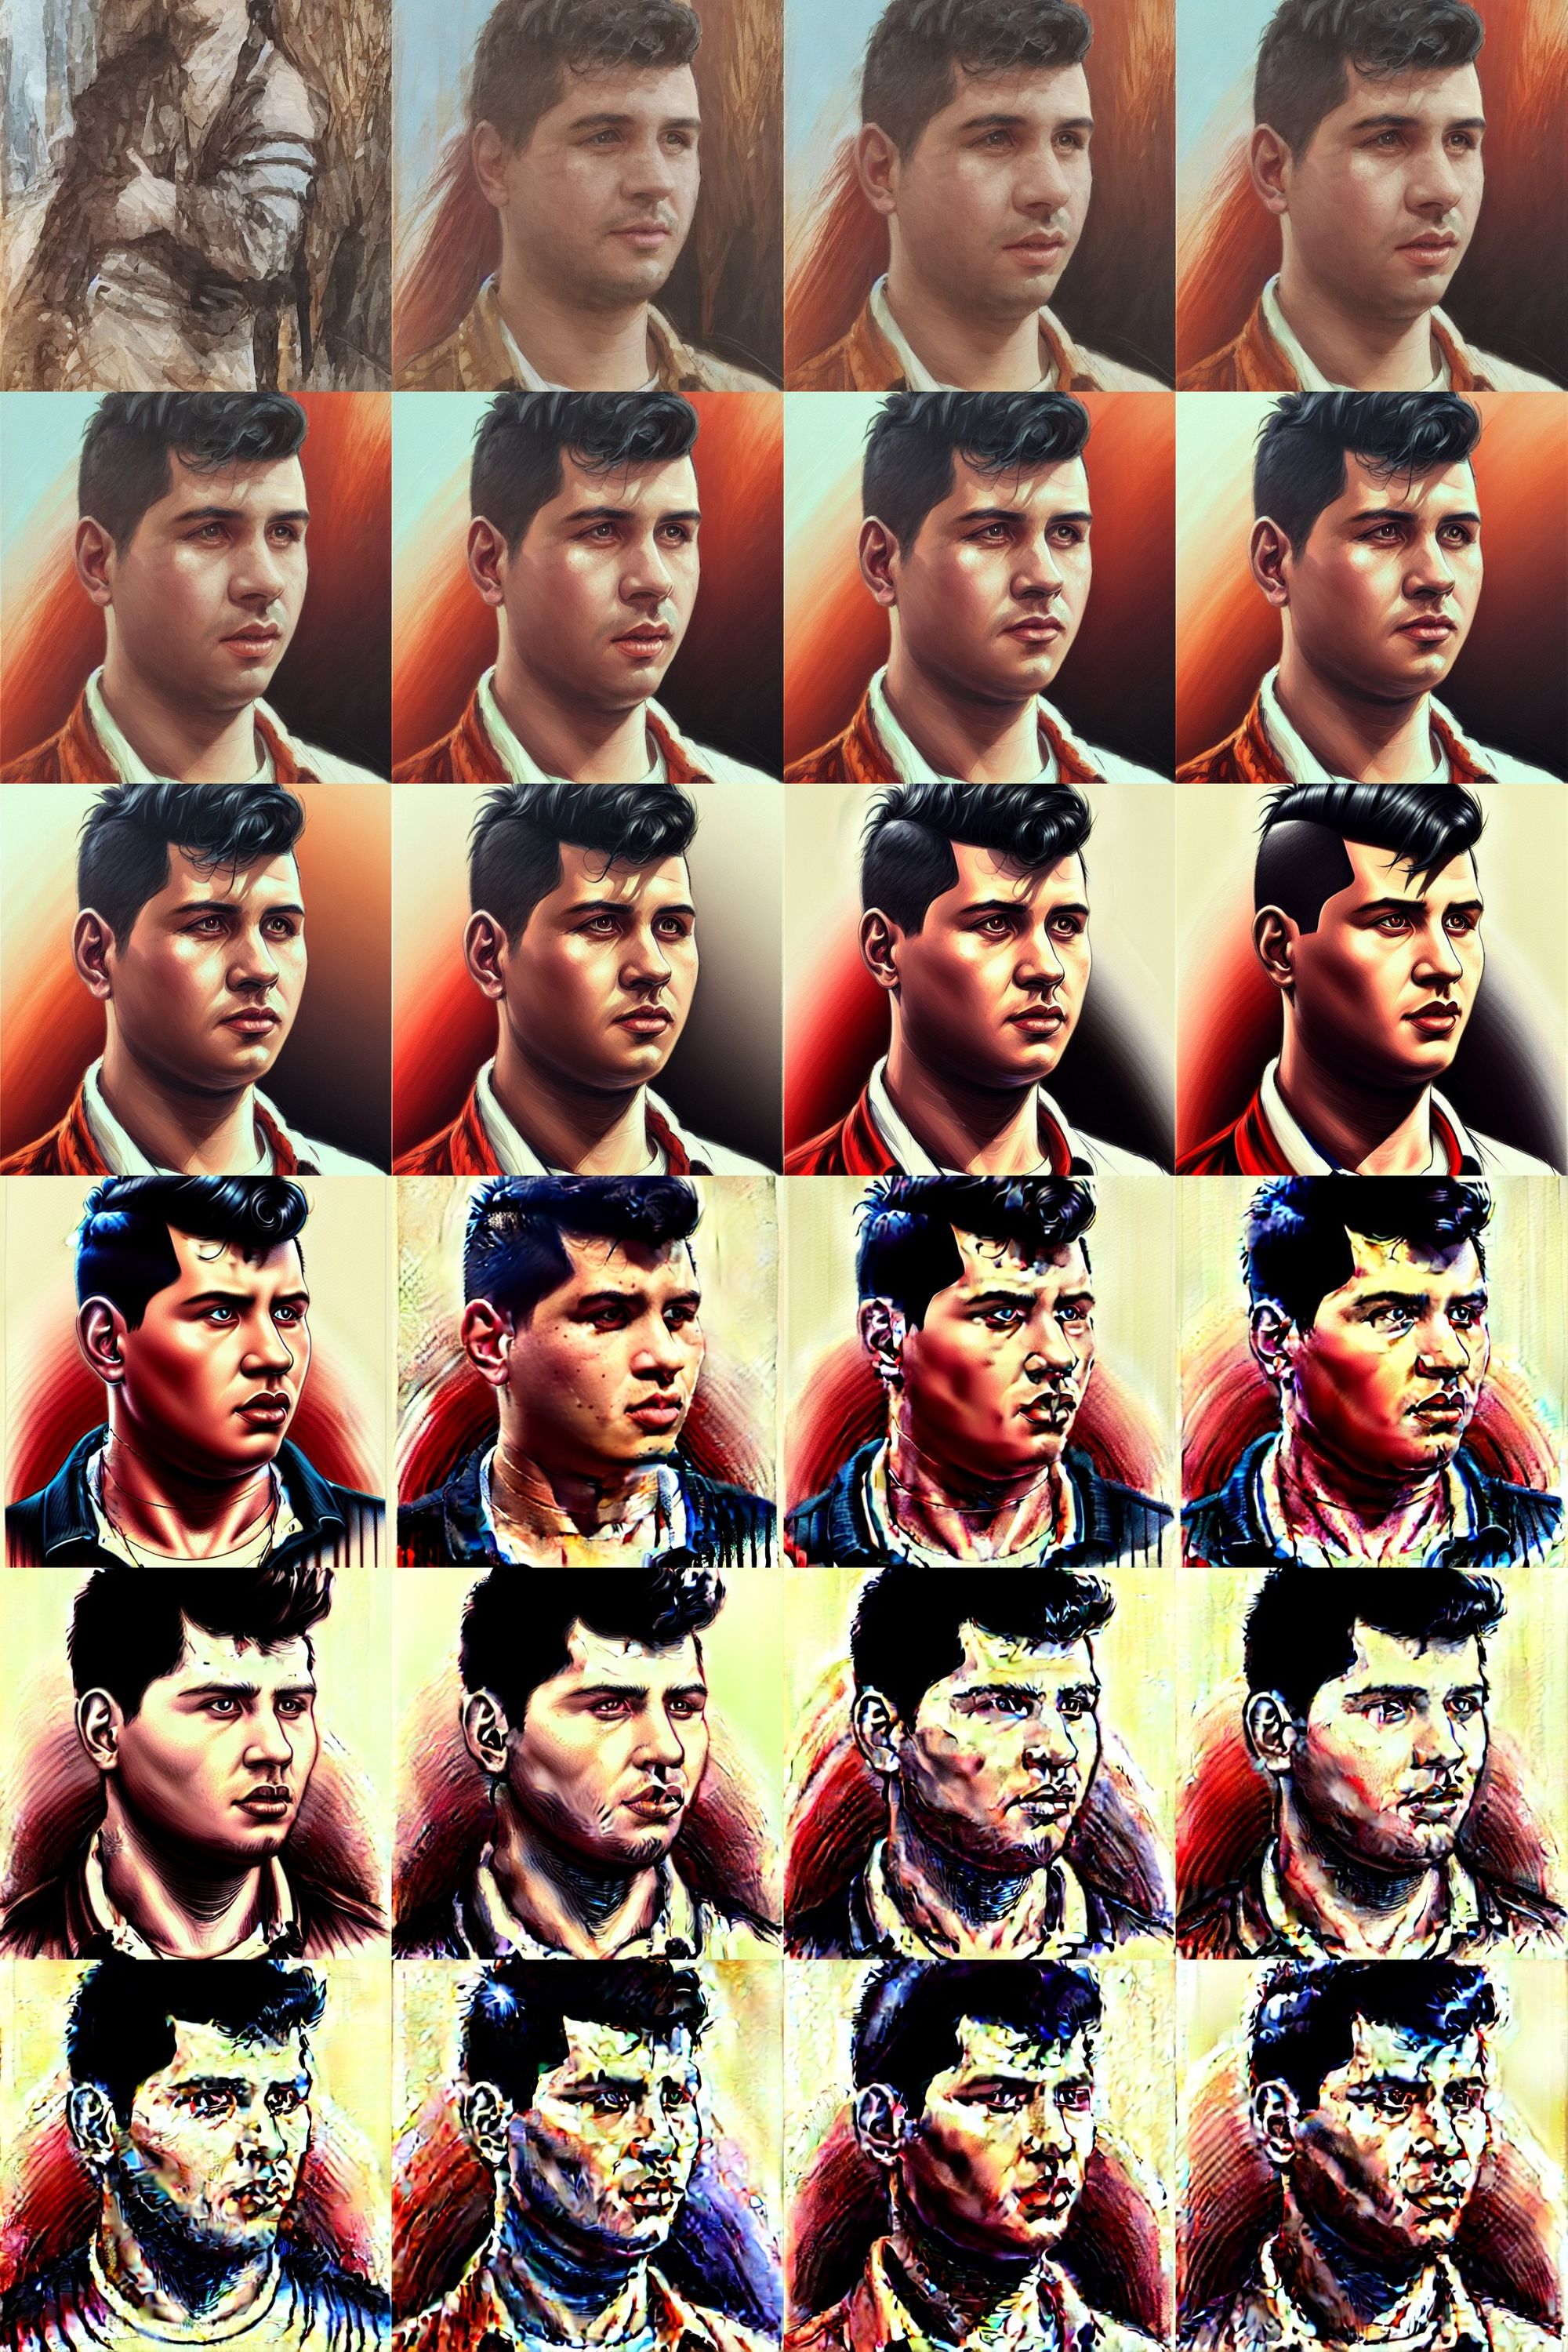
A voyage through diffusion: Walking the iterations
Now that saw that the primary force of change in the diffusion is the number of steps, lets try lots of different number of steps and see what we get.
I sort of know that all of this is governed by the scheduler but I didn't spend enough time understanding that piece of the puzzle and doing it experimentally is more fun in the next part I gonna try to pay more attention to this and try different schedulers and see how much they impact.
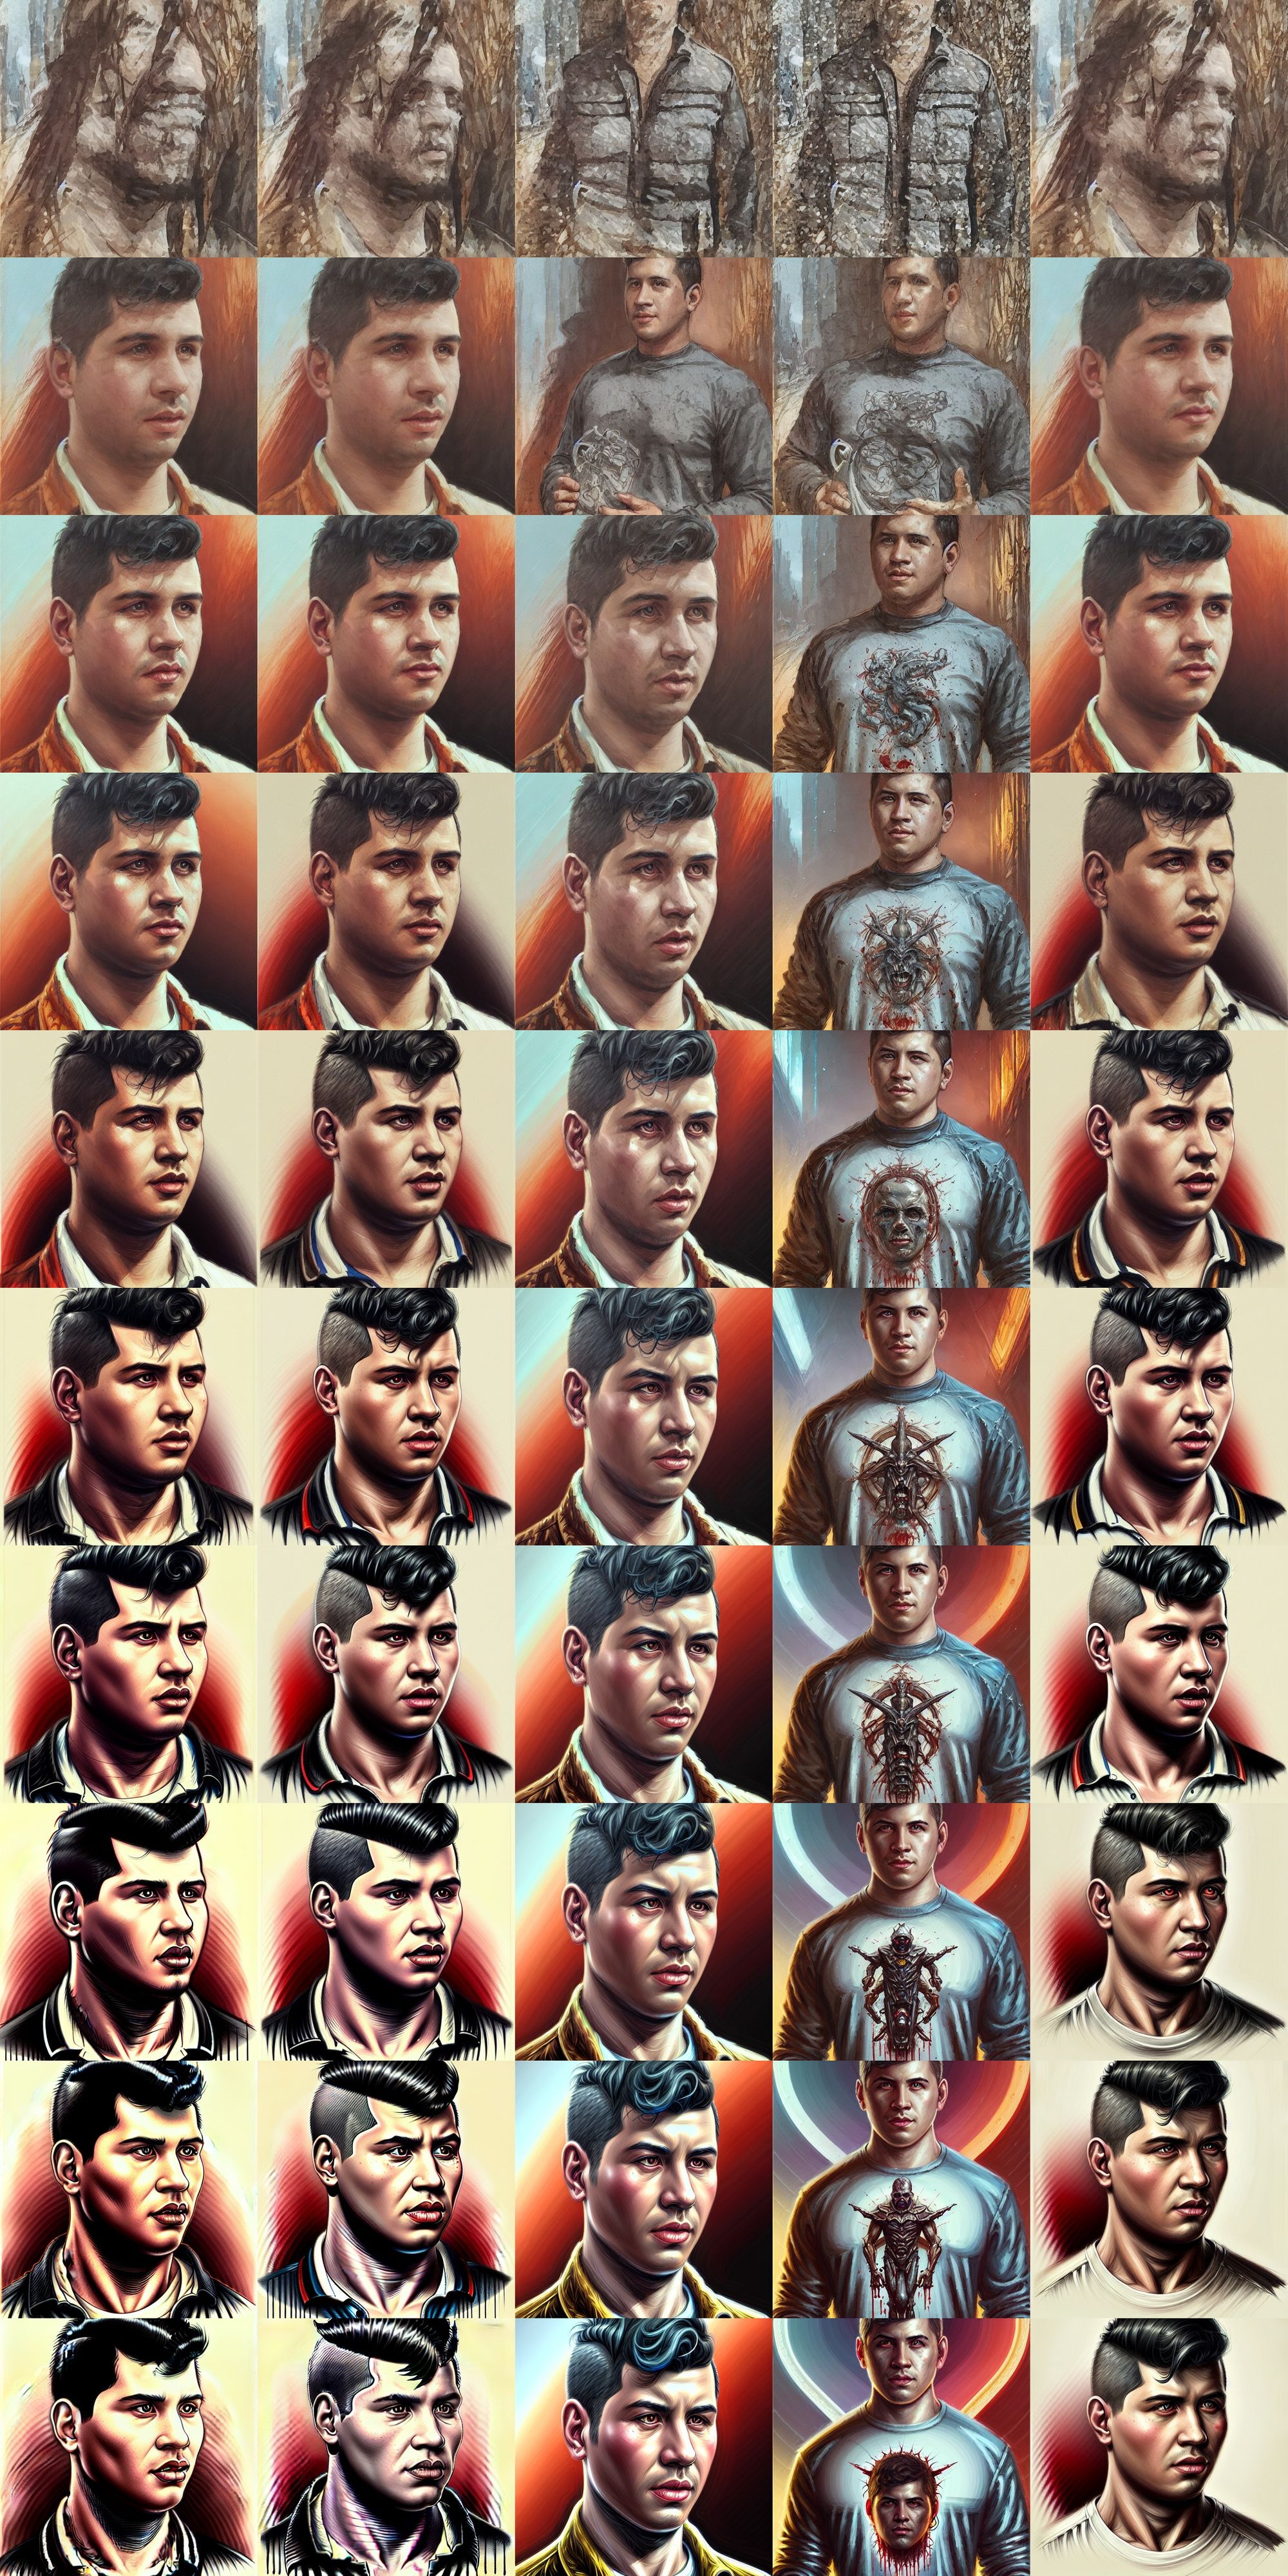
First we gonna walk from 10 to 99 in single steps but instead of looking at an grid with 99 images, lets separate between even and odd ( guidance is set to 7.5 )
The odd ones
The even ones
Is incredibly how much the result change with only the iterations, but at the same time they keep the overall structure in this set of lower iterations, also there are iterations that don't change the result at all and they are not adjacent to each other.
I think that I consistently see better result with even iterations, but it can be subjective, what do you think?
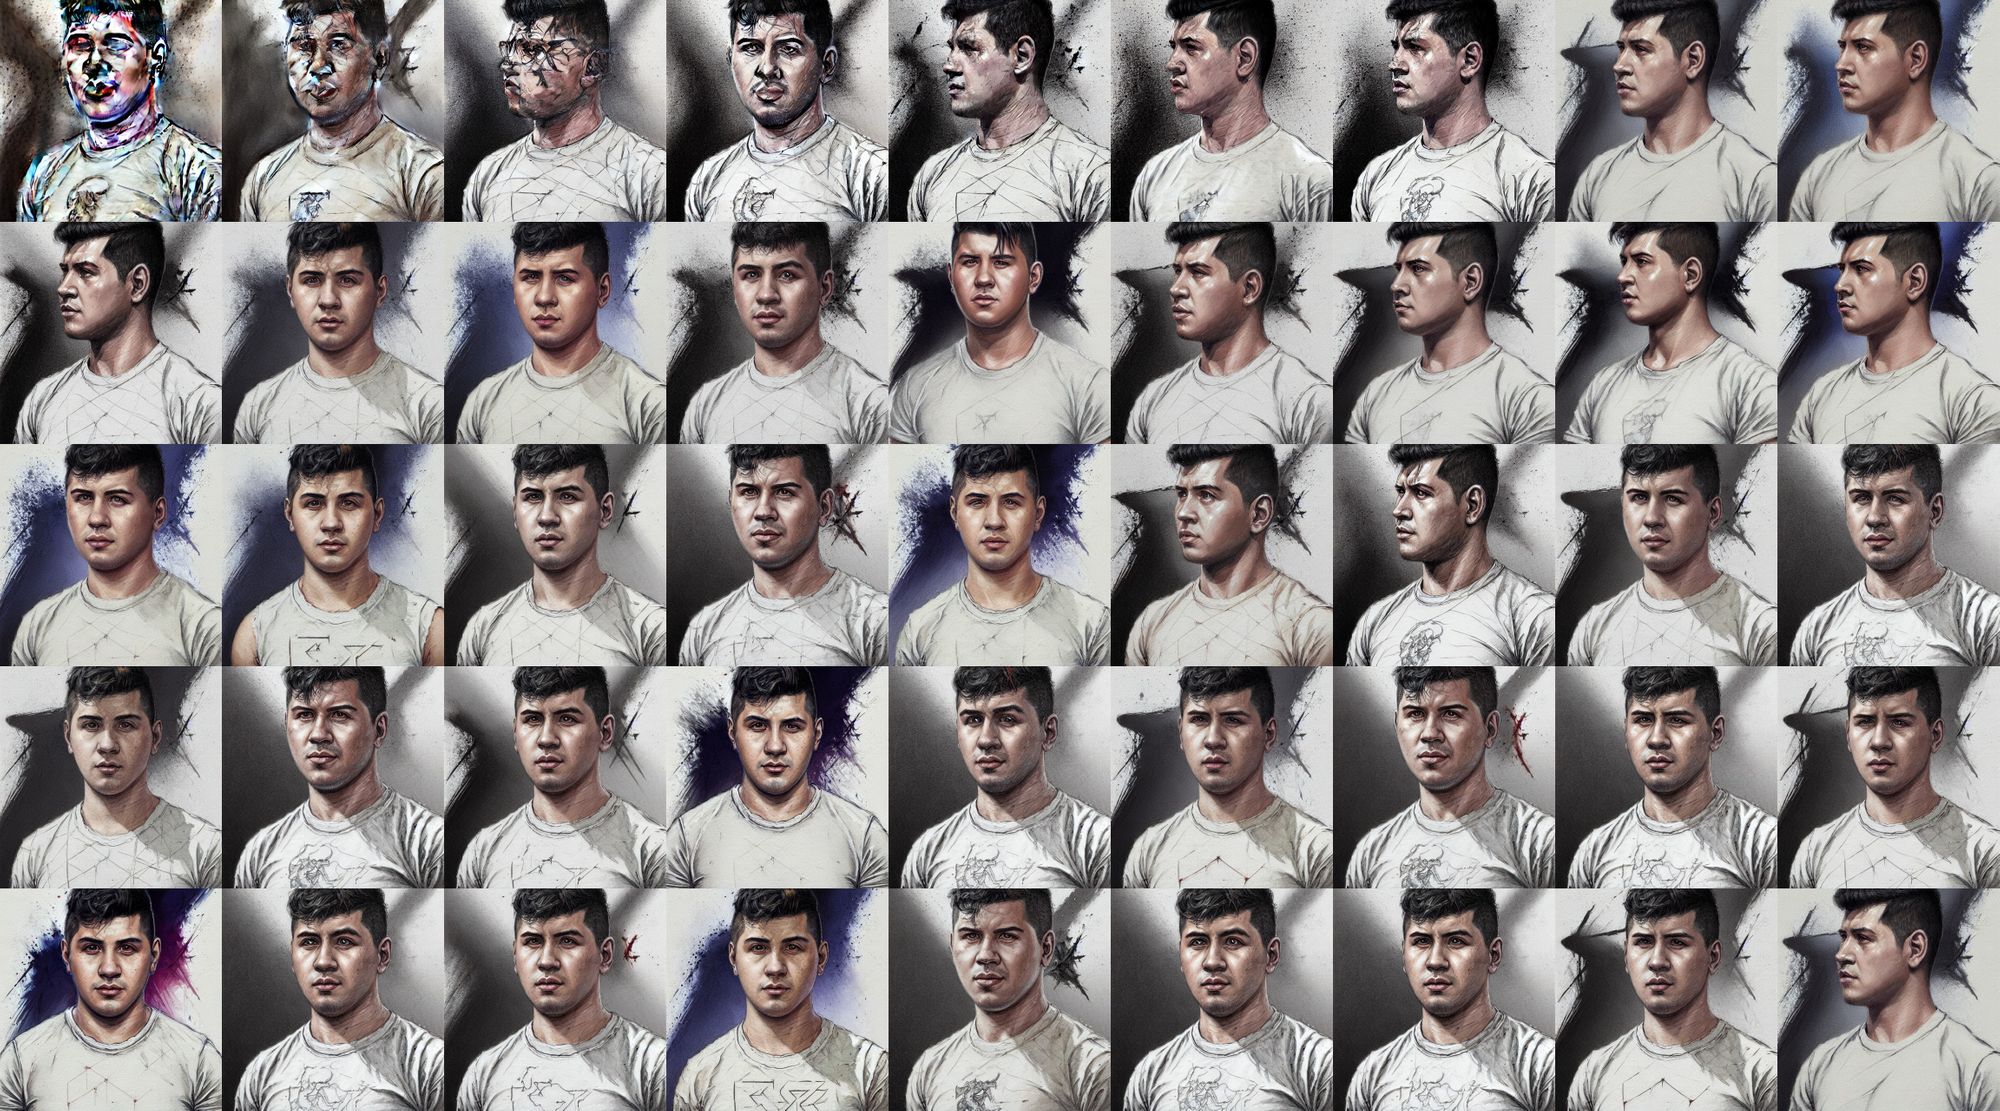
Now let's see bigger numbers! lets walk from 100 to 1000 in steps of of 50
Notice how 500 and 1000 are the same result, maybe we don't need to go that higher to get a good result.
Wow no idea what happens in iterations 500 to 750, maybe with more guidance this improves?
Mhh don't think so it gets more detail but still a very different result from the rest.

With guidance 20 we get a very interesting result, and with full of small details maybe there is something here, iteration 550 write it down xD
I don't think is a magic number but very interesting that we can get this sort of small detail with only changing the iterations.
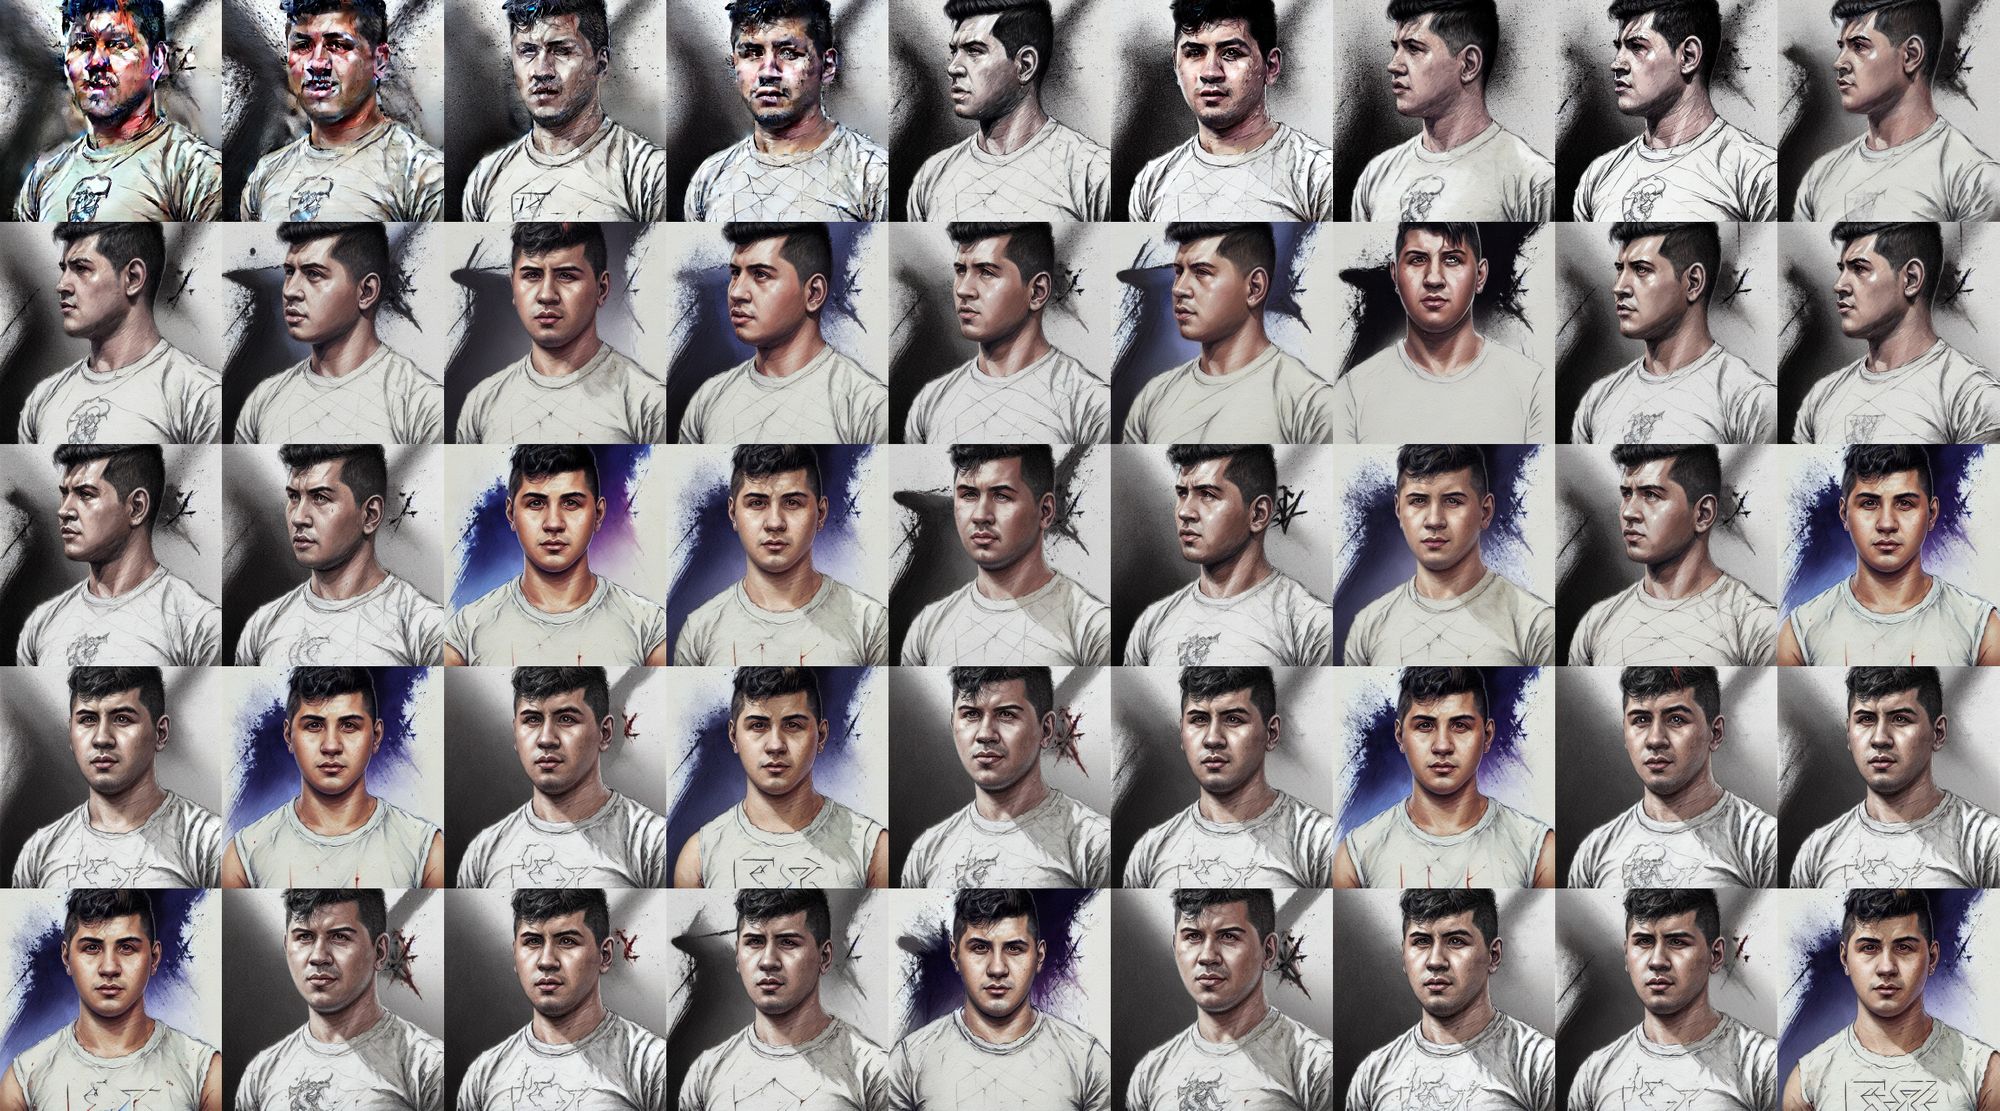
Let's try another one and see how much the guidance impact on the final result
Wow lots of details, I'm amazed by the things in the shirt with higher guidance, towards the end you can see a little noise showing, guidance 25 I think is the best but super interesting result after that one.
Interesting that even small change in the iteration we get vastly different results and even we can get something completely crazy like in iteration 550, I really need to dig deeper and understand the scheduler if you have more understanding on this reach out would love to chat!
Slerping two latent vectors
I wanted to interpolate between two vectors but couldn't make something to work then I found this gist from karpathy and he was using a function to interpolate two latent vectors and it was just what I needed.
First lets see what is slerp, this is similar to linear interpolation, meaning the generation of points between two other point points, but in a spherical space, more info here on wikipedia xD
# This is the function if you want to use it
def slerp(t, v0, v1, DOT_THRESHOLD=0.9995):
    """ helper function to spherically interpolate two arrays v1 v2 """

    if not isinstance(v0, np.ndarray):
        inputs_are_torch = True
        input_device = v0.device
        v0 = v0.cpu().numpy()
        v1 = v1.cpu().numpy()

    dot = np.sum(v0 * v1 / (np.linalg.norm(v0) * np.linalg.norm(v1)))
    if np.abs(dot) > DOT_THRESHOLD:
        v2 = (1 - t) * v0 + t * v1
    else:
        theta_0 = np.arccos(dot)
        sin_theta_0 = np.sin(theta_0)
        theta_t = theta_0 * t
        sin_theta_t = np.sin(theta_t)
        s0 = np.sin(theta_0 - theta_t) / sin_theta_0
        s1 = sin_theta_t / sin_theta_0
        v2 = s0 * v0 + s1 * v1

    if inputs_are_torch:
        v2 = torch.from_numpy(v2).to(input_device)

    return v2
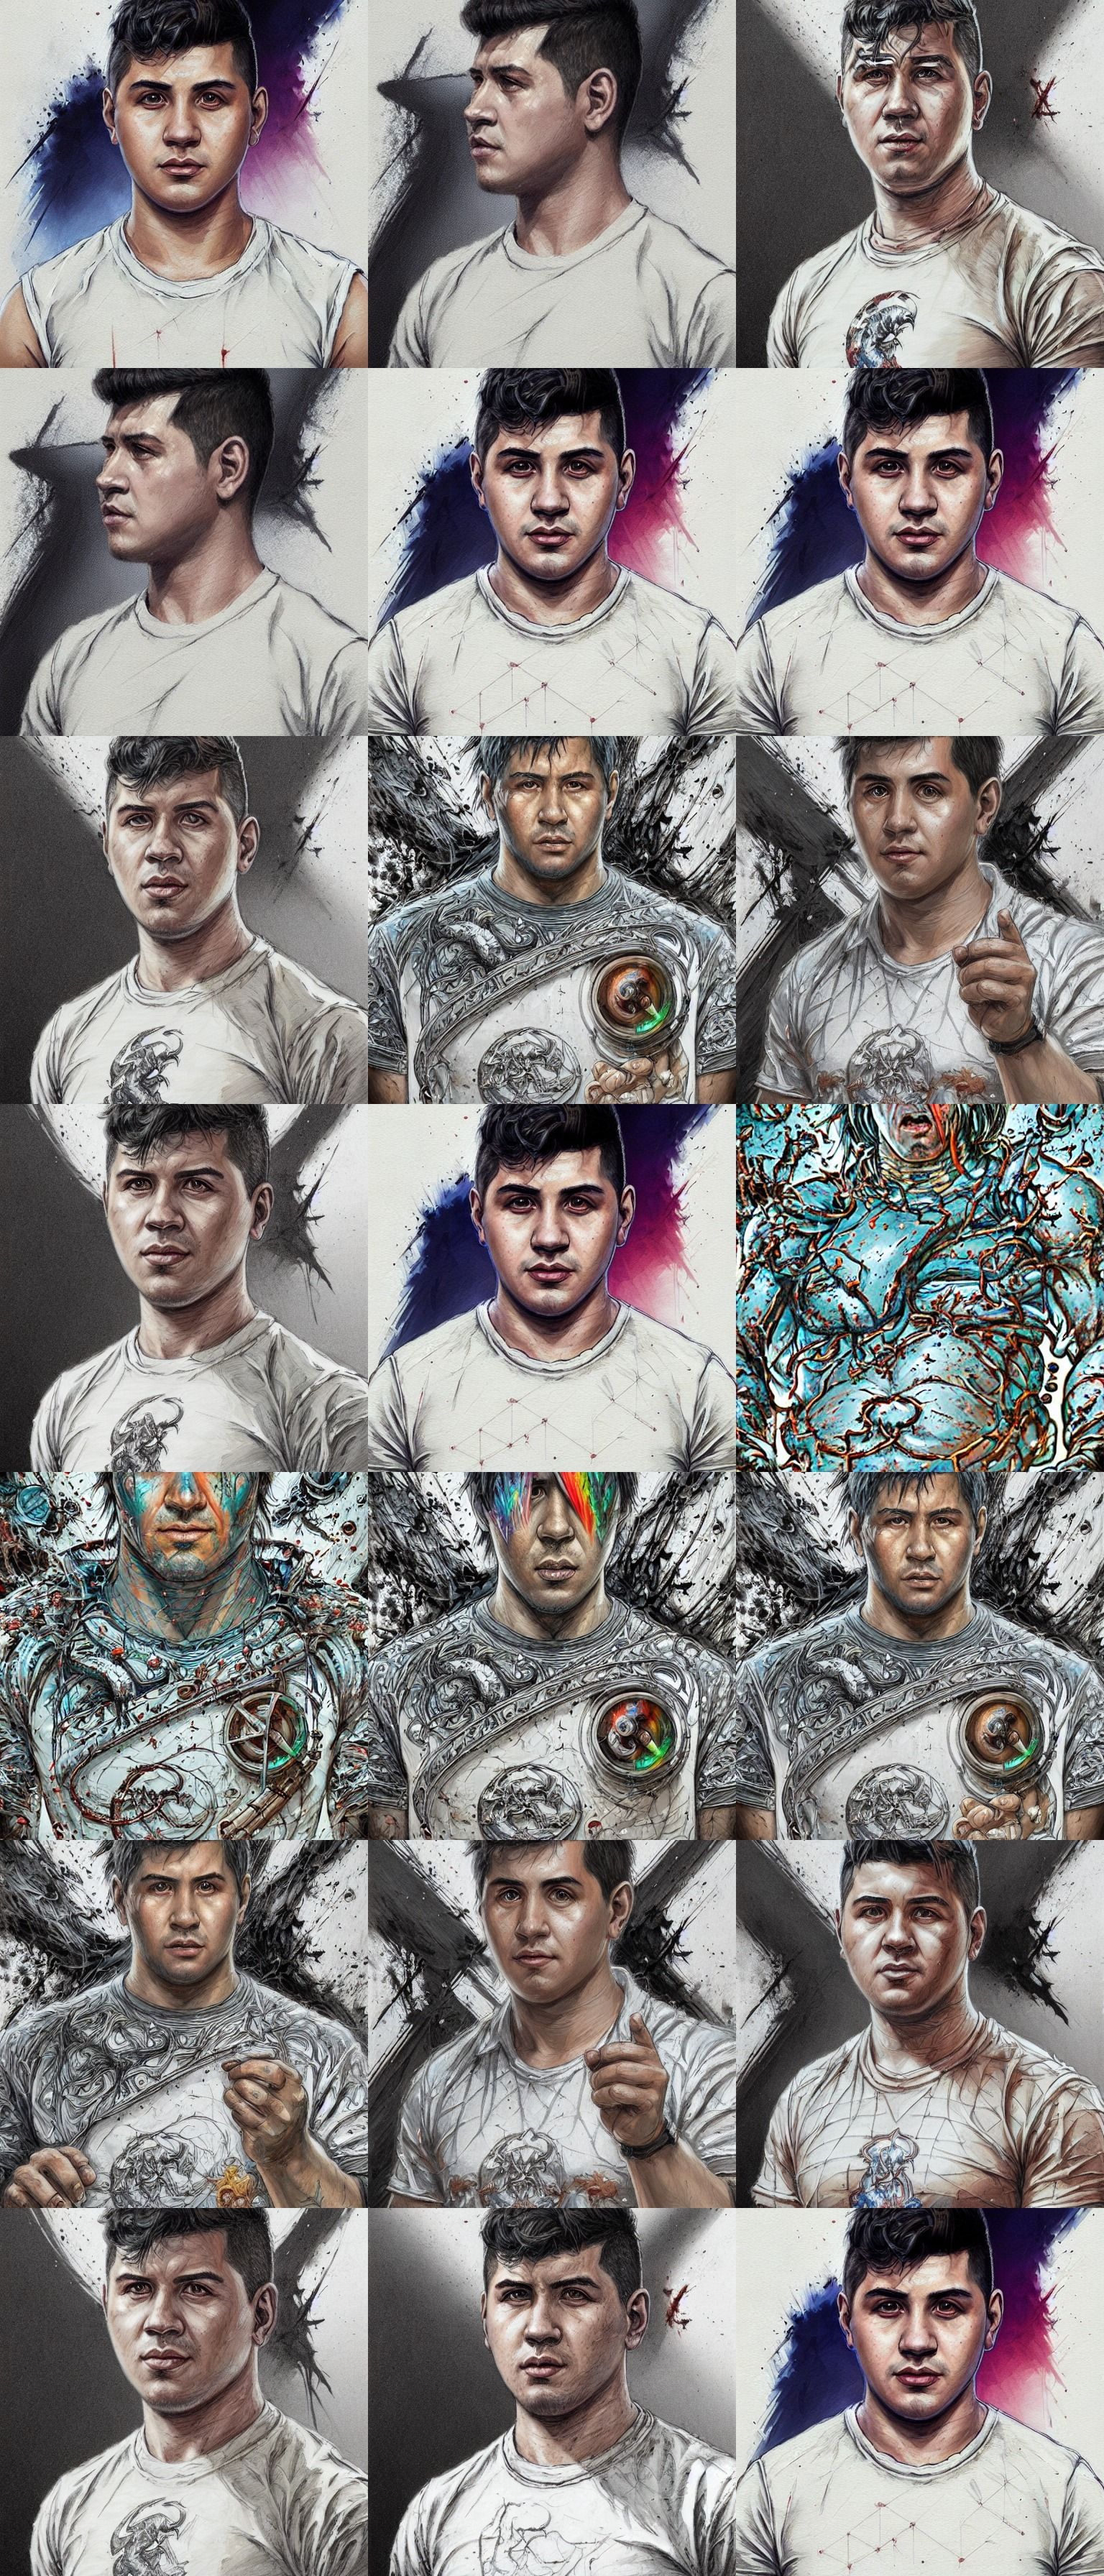
So grabbing two random latent vectors, interpolating or slerping between the two we get a bunch of intermediary results then with some video editing magic we get this awesome animation!
# how to use the function to generate frames for the animation

num_steps=30

for i, t in enumerate(tqdm(np.linspace(0, 1, num_steps))):
    latents= slerp(t, latents_save['face_to_the_left'], latents_save['head_shot_paint'])

    with autocast("cuda"):
        images = pipe([prompt], num_inference_steps=50, guidance_scale=7.5,  latents = latents).images
    images[0].save(f'slerp_between_latents/{i}.png')
latents_save['face_to_the_left'] and latents_save['head_shot_paint'] are two latents that I previously tested and saved into this dict.
I'm amazed with how good it looks, I want to do a longer animation but it takes 10 minute per second of animation maybe next time xD
If you like this you can subscribe to the newsletter I will post content similar to this, Machine Learning, Deep Learning, news and cool projects.
And if you want to connect you can send me a message to twitter or linkedin,
also subscribe to my YT channel k bye!